Having the flexibility to generate reports that match your specific requirements is crucial. This is where the power of custom reports shines. At the heart of this functionality is the user’s ability to handpick the fields that matter most and create reports that provide targeted insights. In this article, we delve into the world of custom reports, exploring how users can harness this feature to curate data-rich reports and conveniently download them in CSV format.
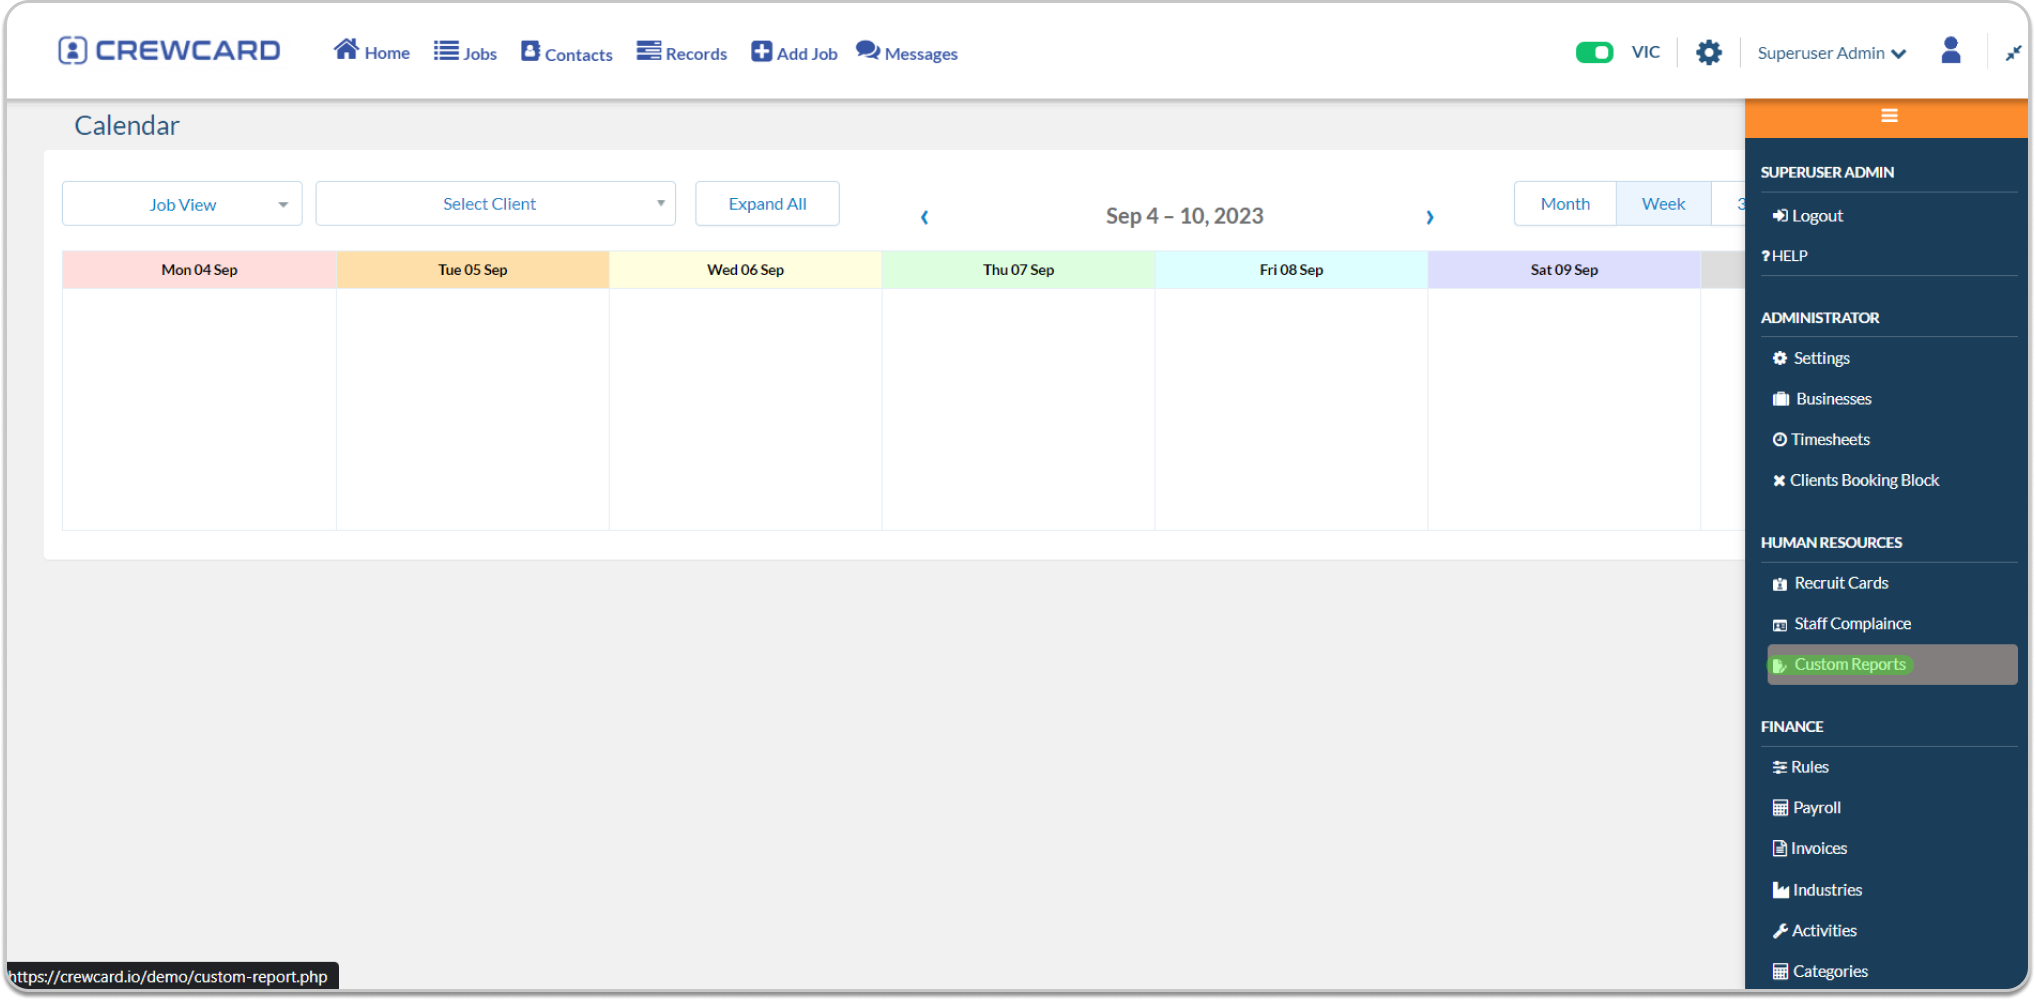
Access the Administrative Dropdown Menu and choose “Custom Reports” within the Human Resources section.
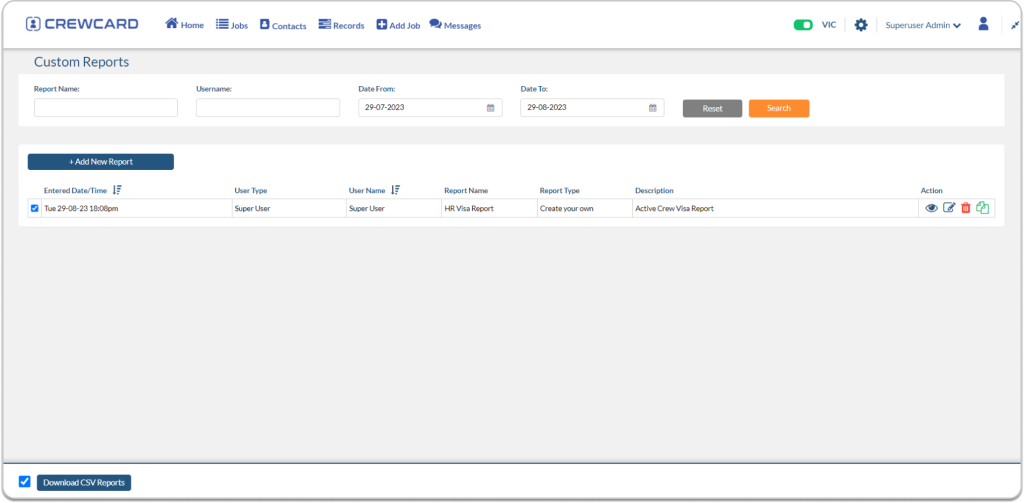
Upon doing so, you will be directed to the custom reports page. Here, you can tailor your report according to the data, ensuring it aligns precisely with your requirements.

On this page, you also have the capability to view all the custom reports that have been generated. This functionality permits you to Add, View, edit, or if necessary, delete the custom reports. Additionally, you can duplicate the custom reports you’ve crafted by clicking the copy icon under the action column.
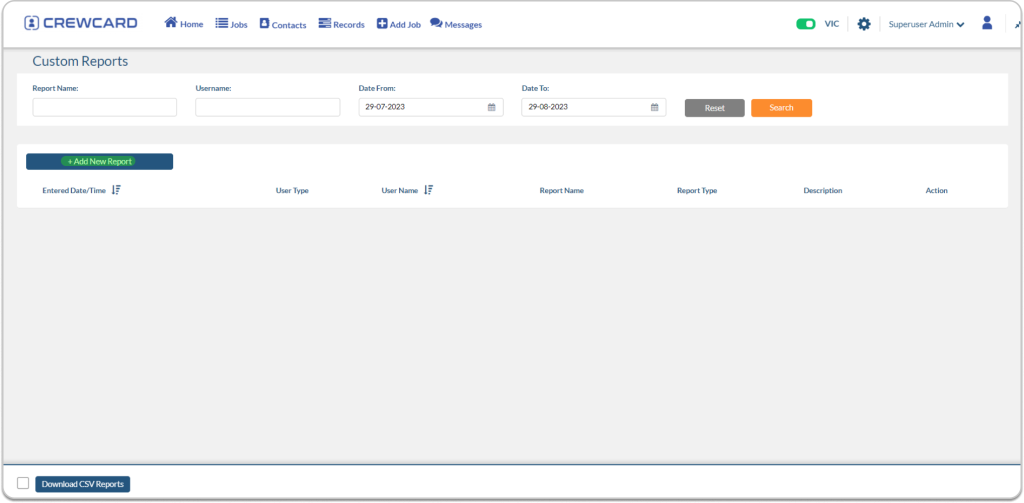
To Add New Custom Report, Click the Add New Report button.
Upon clicking, you will be directed to the “Add Custom Report” section, allowing you to personalise your report according to your preferences.

Report Name: refers to the distinct identifier assigned to a specific report. It serves as a label or title that helps users quickly identify and differentiate various reports from one another.
Report Type: refers to the category or classification that a report belongs to. It can be classified as Headcount Report, Visa Report, Certifications Report and alternatively you can Create your own.
Staff Status: refers to the current state or condition of an employee within an organisation. It indicates whether an employee is active, blocked or a recruit.
Description: refers to a detailed explanation or account that provides additional information or context about the custom report.
Drag the elements to the selected elements column once you’ve completed the form. Choose the required field for your custom report.
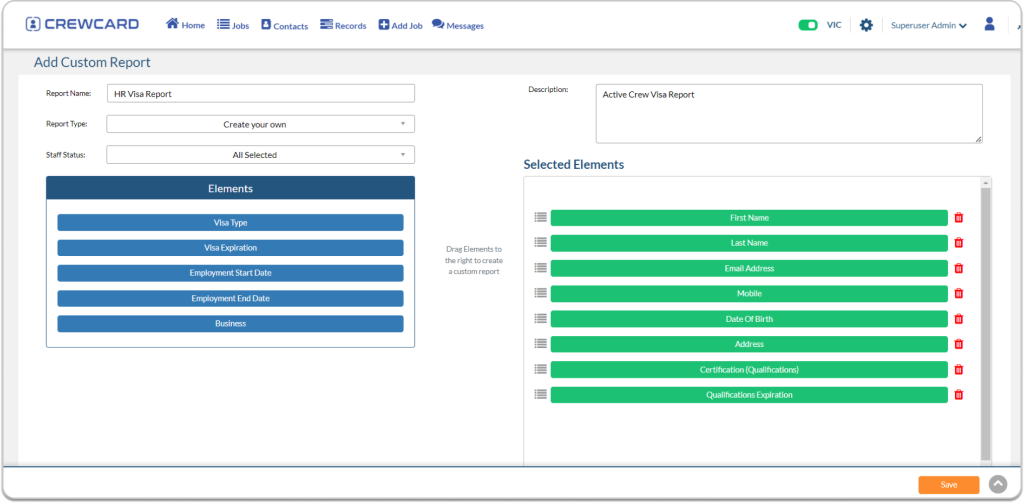
Once you’ve finished, press the “Save” button. You can then access the custom report in the list of customer reports. To download CSV reports, simply choose the custom report and click the “Download CSV Reports” button.